
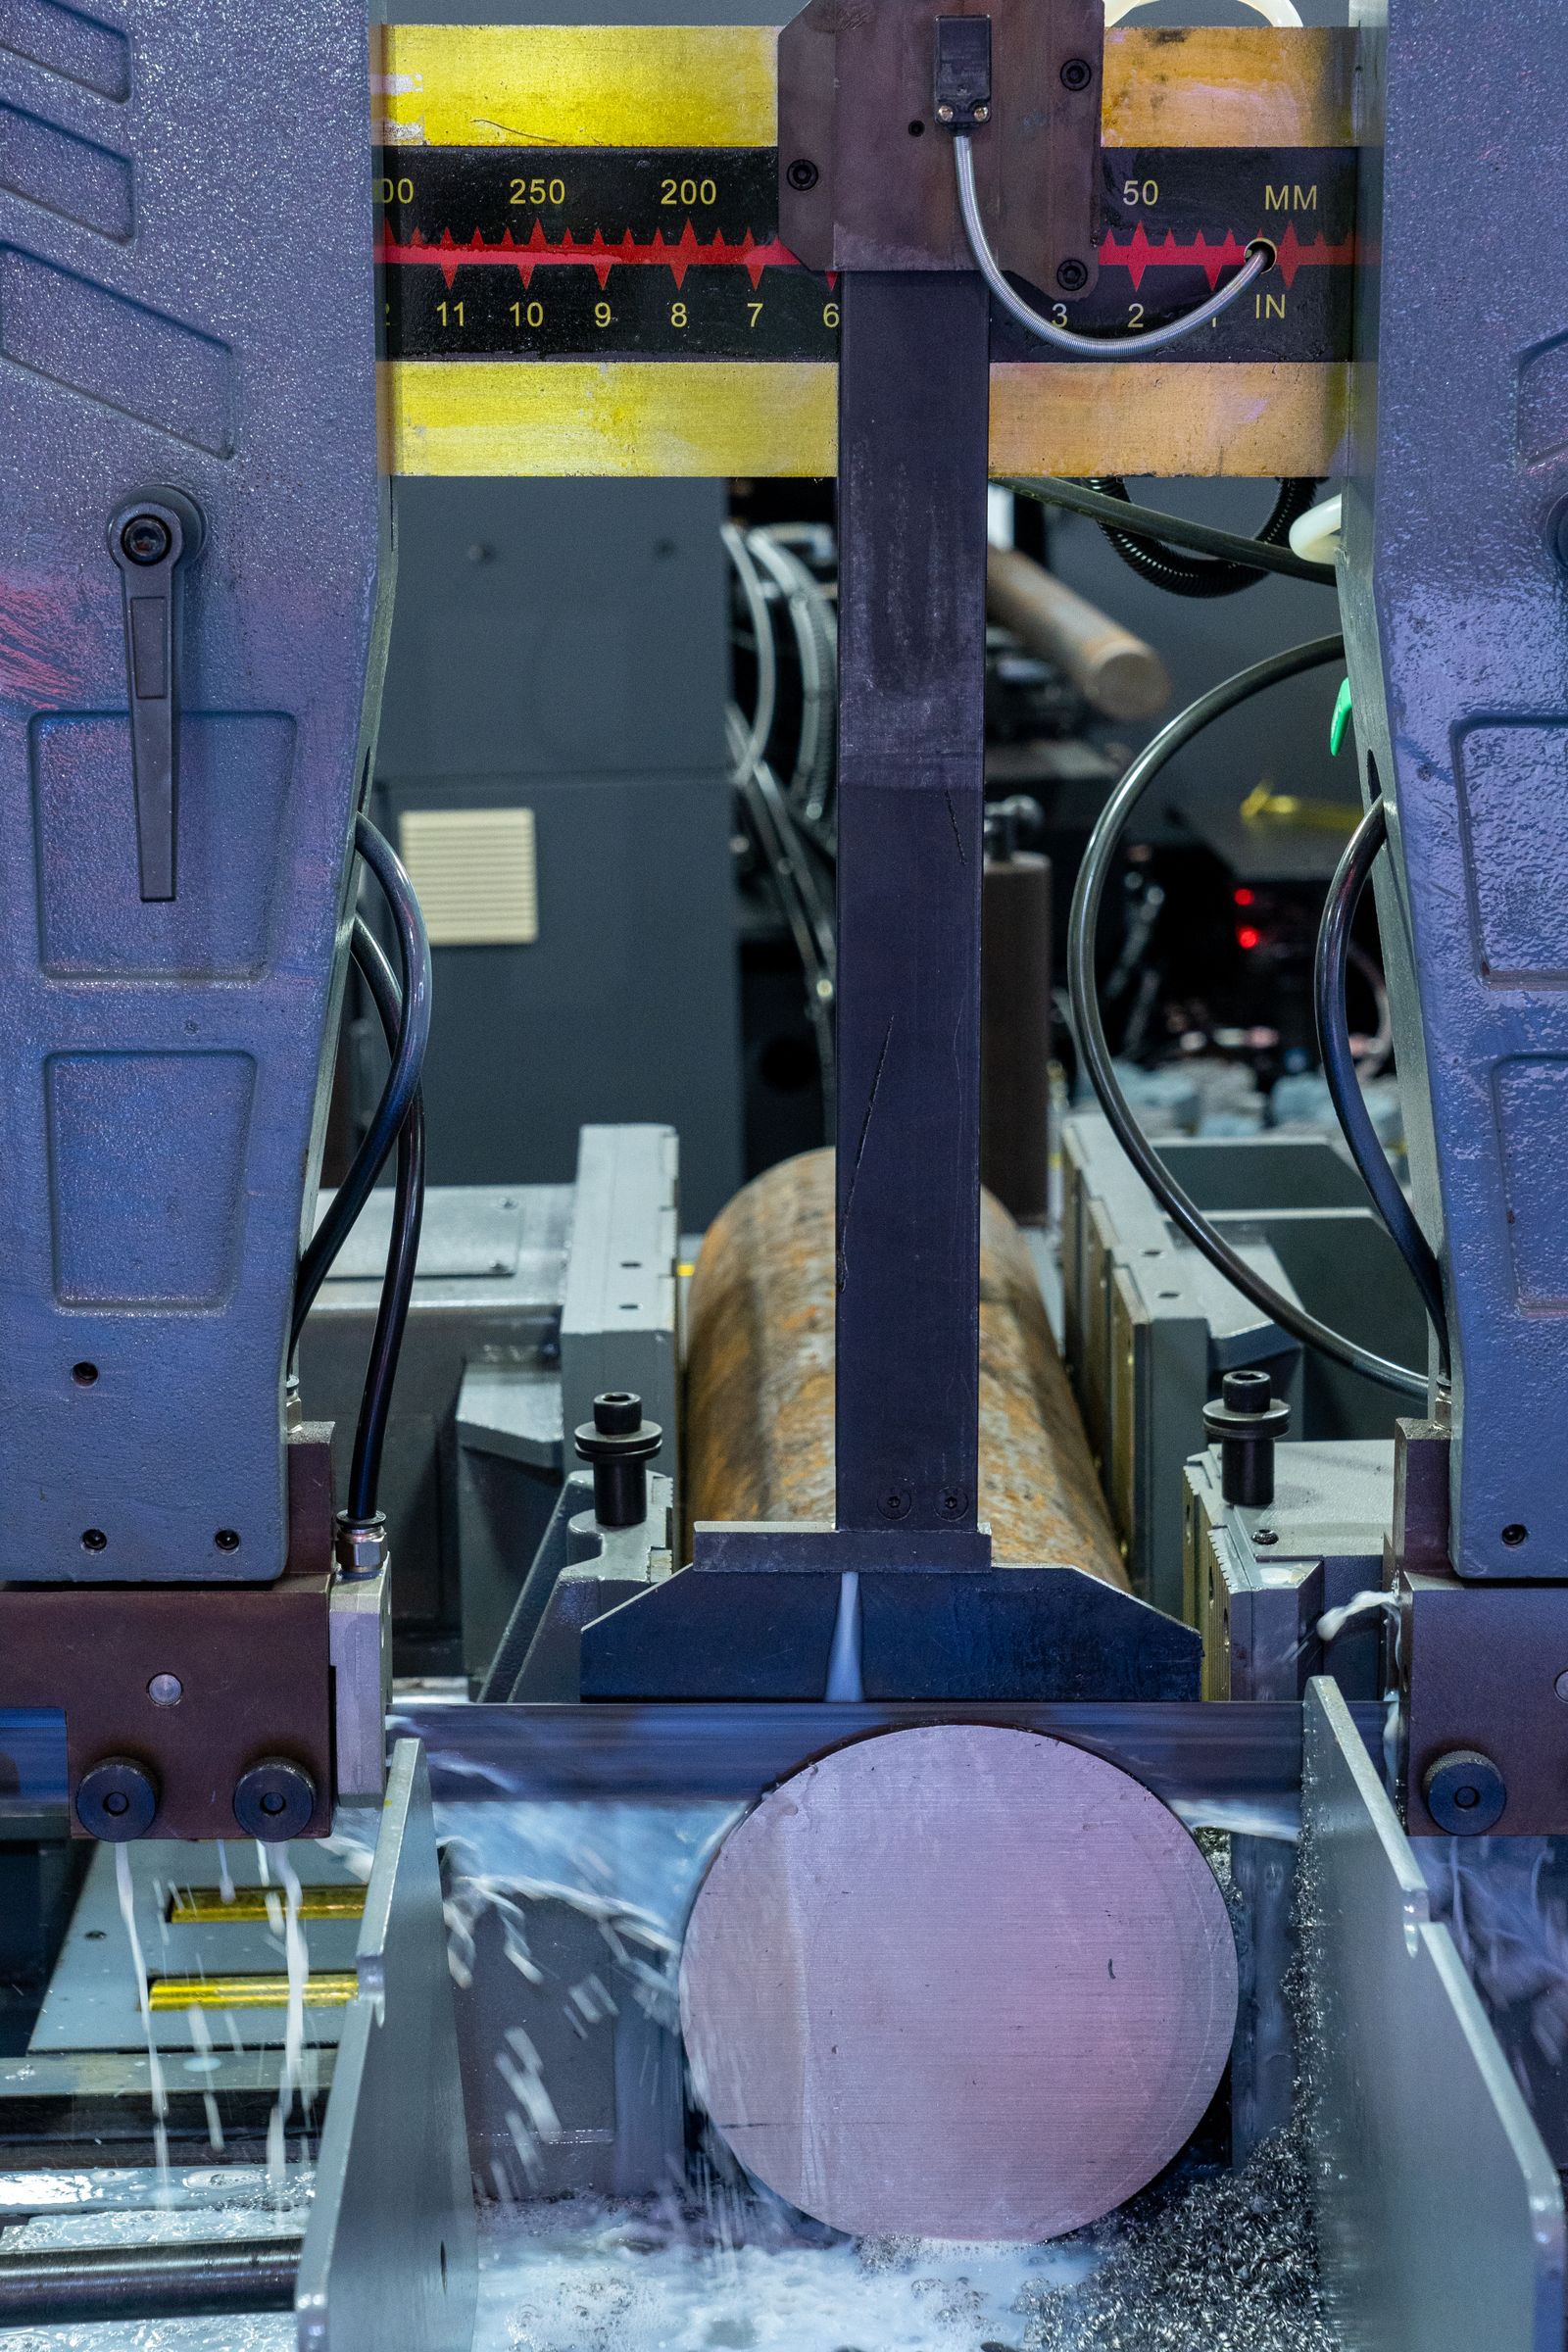
How width of cut, depth of cut and feed rate combine to describe material removal. This practical guide explains the calculation, the variables that matter and the checks to complete before using a value in a CNC machining setup.
Material Removal Rate: How CNC MRR Is Calculated is most useful when it connects a mathematical relationship with the actual machining process. The calculator can give you a clean numerical result, but the result only becomes useful when the inputs describe the real tool, material, operation and machine. This guide keeps those pieces together so you can calculate, verify and then make a controlled process decision.
Tool, material, operation and machine limits
Use the MRR Calculator and verify the units
Compare with tooling data and the actual setup
At a glance
- Define the operation and the variables before calculating.
- Keep the unit beside every input and result.
- Use the actual cutter, insert, drill or workholding information.
- Compare the calculated value with manufacturer recommendations.
- Validate the first run with chips, load, dimensions and finish.
The basic MRR relationship
For a simplified milling calculation, material removal rate can be expressed as width of cut multiplied by depth of cut multiplied by feed rate. The result describes a volume removed per unit time.
Why MRR is useful
MRR gives a compact way to compare roughing strategies. It connects the geometry of engagement with feed rate and helps explain why increasing width, depth or feed can increase material removal.
MRR does not measure process quality
A high MRR can also increase cutting force, spindle load, heat and tool wear. Machine power, rigidity, workholding and tool capability limit the useful operating range.
Connect MRR with power and time
Use MRR with spindle power, tool engagement and machining time calculations. A roughing strategy should be judged by the whole process, including cycle time, tool life and part quality.
Use consistent units
Width, depth and feed must use compatible units. If the feed is in mm/min and dimensions are in mm, the result is mm³/min. Convert the inputs before calculating rather than trying to reinterpret the final number.
Step-by-step guide
- Define the job. Write down the operation, material, tool and target result. Do not start by copying a number from another job unless the conditions are genuinely comparable.
- Collect the inputs. Use the actual dimensions, tool geometry and machine limits. Confirm the unit for every value.
- Run the calculation. Open the MRR Calculator and enter the values exactly as shown.
- Cross-check the result. Use a second related calculation where practical. For example, check the implied chip load, feed rate or cutting speed rather than trusting one number in isolation.
- Compare with tooling data. Manufacturer recommendations for the actual tool and material should control production decisions.
- Run a controlled trial. Watch machine behavior and inspect the result. Change one major variable at a time during troubleshooting.
Common mistakes to avoid
- Mixing metric and imperial units without an explicit conversion.
- Using a generic value when the cutter maker provides data for the exact tool.
- Ignoring tool engagement, stickout or workholding.
- Changing several cutting parameters at the same time during troubleshooting.
- Treating a calculated number as a production guarantee instead of a starting point.
- Rounding too early in a chain of calculations.
Job checklist
- ☐ Operation identified
- ☐ Material and grade confirmed
- ☐ Tool or insert specification confirmed
- ☐ Diameter, flute count or nose geometry confirmed
- ☐ Units checked
- ☐ Machine RPM and feed limits checked
- ☐ Engagement and depth checked
- ☐ Workholding and setup rigidity checked
- ☐ Manufacturer cutting data reviewed
- ☐ First-run inspection planned
Worked example
Suppose you are reviewing a new CNC operation and already know the cutter dimensions, material, intended engagement and the manufacturer starting range. Enter those values into the relevant calculator, record the calculated RPM or feed, then work backward from the result to verify the other variable. If the values do not agree with the tooling table, stop and check the unit system, tool diameter, material selection and engagement before programming the machine. The purpose of the example is not to produce one universal setting. It is to show a repeatable method that can be audited by another machinist.
Related calculators and resources
- Spindle Power Calculator for the related calculation.
- Feed Rate Calculator for the related calculation.
- Tool Engagement Calculator for the related calculation.
- Machining Time Calculator for the related calculation.
- More material removal rate calculators for related tools.
- Machining Guides for background and practical explanations.
- Material Reference for material context.
- Machining Reference for formulas and unit information.
FAQs
How is milling MRR calculated?
A simplified relationship is width of cut × depth of cut × feed rate, with compatible units.
Is higher MRR always better?
No. Higher removal can increase cutting force, power demand, heat and tool wear.
What should MRR be compared with?
Compare it with spindle power, engagement, tool capability, machine rigidity, cycle time and tool life.
Detailed shop notes
The most reliable way to use a machining calculator is to treat the calculation as one part of a documented process. Start with the physical job in front of you rather than a remembered value from another setup. Record the actual tool, diameter, geometry, material, engagement and machine. If the job is a repeat, compare the new conditions with the previous setup and identify what changed before copying any parameter. Small changes in diameter, stickout, material condition or toolpath can make an old value unsuitable.
It is useful to separate three questions. First, what does the formula say? Second, what does the tool or machine manufacturer recommend? Third, what did the machine actually produce? The first question is mathematical. The second is engineering guidance. The third is process evidence. Keeping those questions separate makes troubleshooting easier. A number can be mathematically correct and still be a poor production setting because the machine, cutter, material or engagement is different from the assumptions.
For repeat work, keep a simple setup record with the calculator inputs, final programmed value and observed result. Note tool life, chip condition, spindle load, finish and dimensional inspection where relevant. Over time this creates useful shop knowledge without turning one successful setting into a universal rule. The goal is not to find one perfect number. The goal is to create a repeatable method for reaching a stable number for the actual job.
Parameter review table
| Check | What to review | Why it matters |
|---|---|---|
| Tool | Diameter, geometry, flute count, nose or point | Changes the cutting relationship and available operating range. |
| Material | Grade, hardness and condition | Changes cutting forces, heat and tool behavior. |
| Engagement | Width, depth and toolpath | Changes cutting load and chip formation. |
| Machine | RPM, feed, power and rigidity | Limits the practical result from the calculation. |
| Validation | Chips, load, finish and dimensions | Shows what the process actually produced. |
How to troubleshoot a result that looks wrong
If the calculated value looks unexpectedly high or low, do not immediately change the formula. Recheck the units, diameter, flute count, pitch, feed basis and material selection first. Then compare the result with the actual manufacturer data. If the arithmetic is correct but the process is unstable, investigate engagement, workholding, runout, stickout, coolant and machine rigidity. This order helps separate a calculation error from a process problem.
When the first trial produces a problem, record the observation before making the next change. Chatter, rubbing, long chips, excessive burrs, poor finish and dimensional drift each point toward different process causes. Use the related calculators to isolate the variable, make one controlled adjustment and inspect the result again. This is more useful than repeatedly changing several values without knowing which change affected the outcome.
Final check before production
Use this article to understand the relationship and the workflow, then verify the actual production value against the drawing, tooling documentation, machine capability and applicable engineering standard. The True Machinists calculators are designed to make the arithmetic fast and transparent. They do not replace process engineering judgment, machine limits or manufacturer instructions. When a result matters to safety, tolerance, inspection or production cost, keep the controlling source with the job record.